


| Availability: | On backorder |
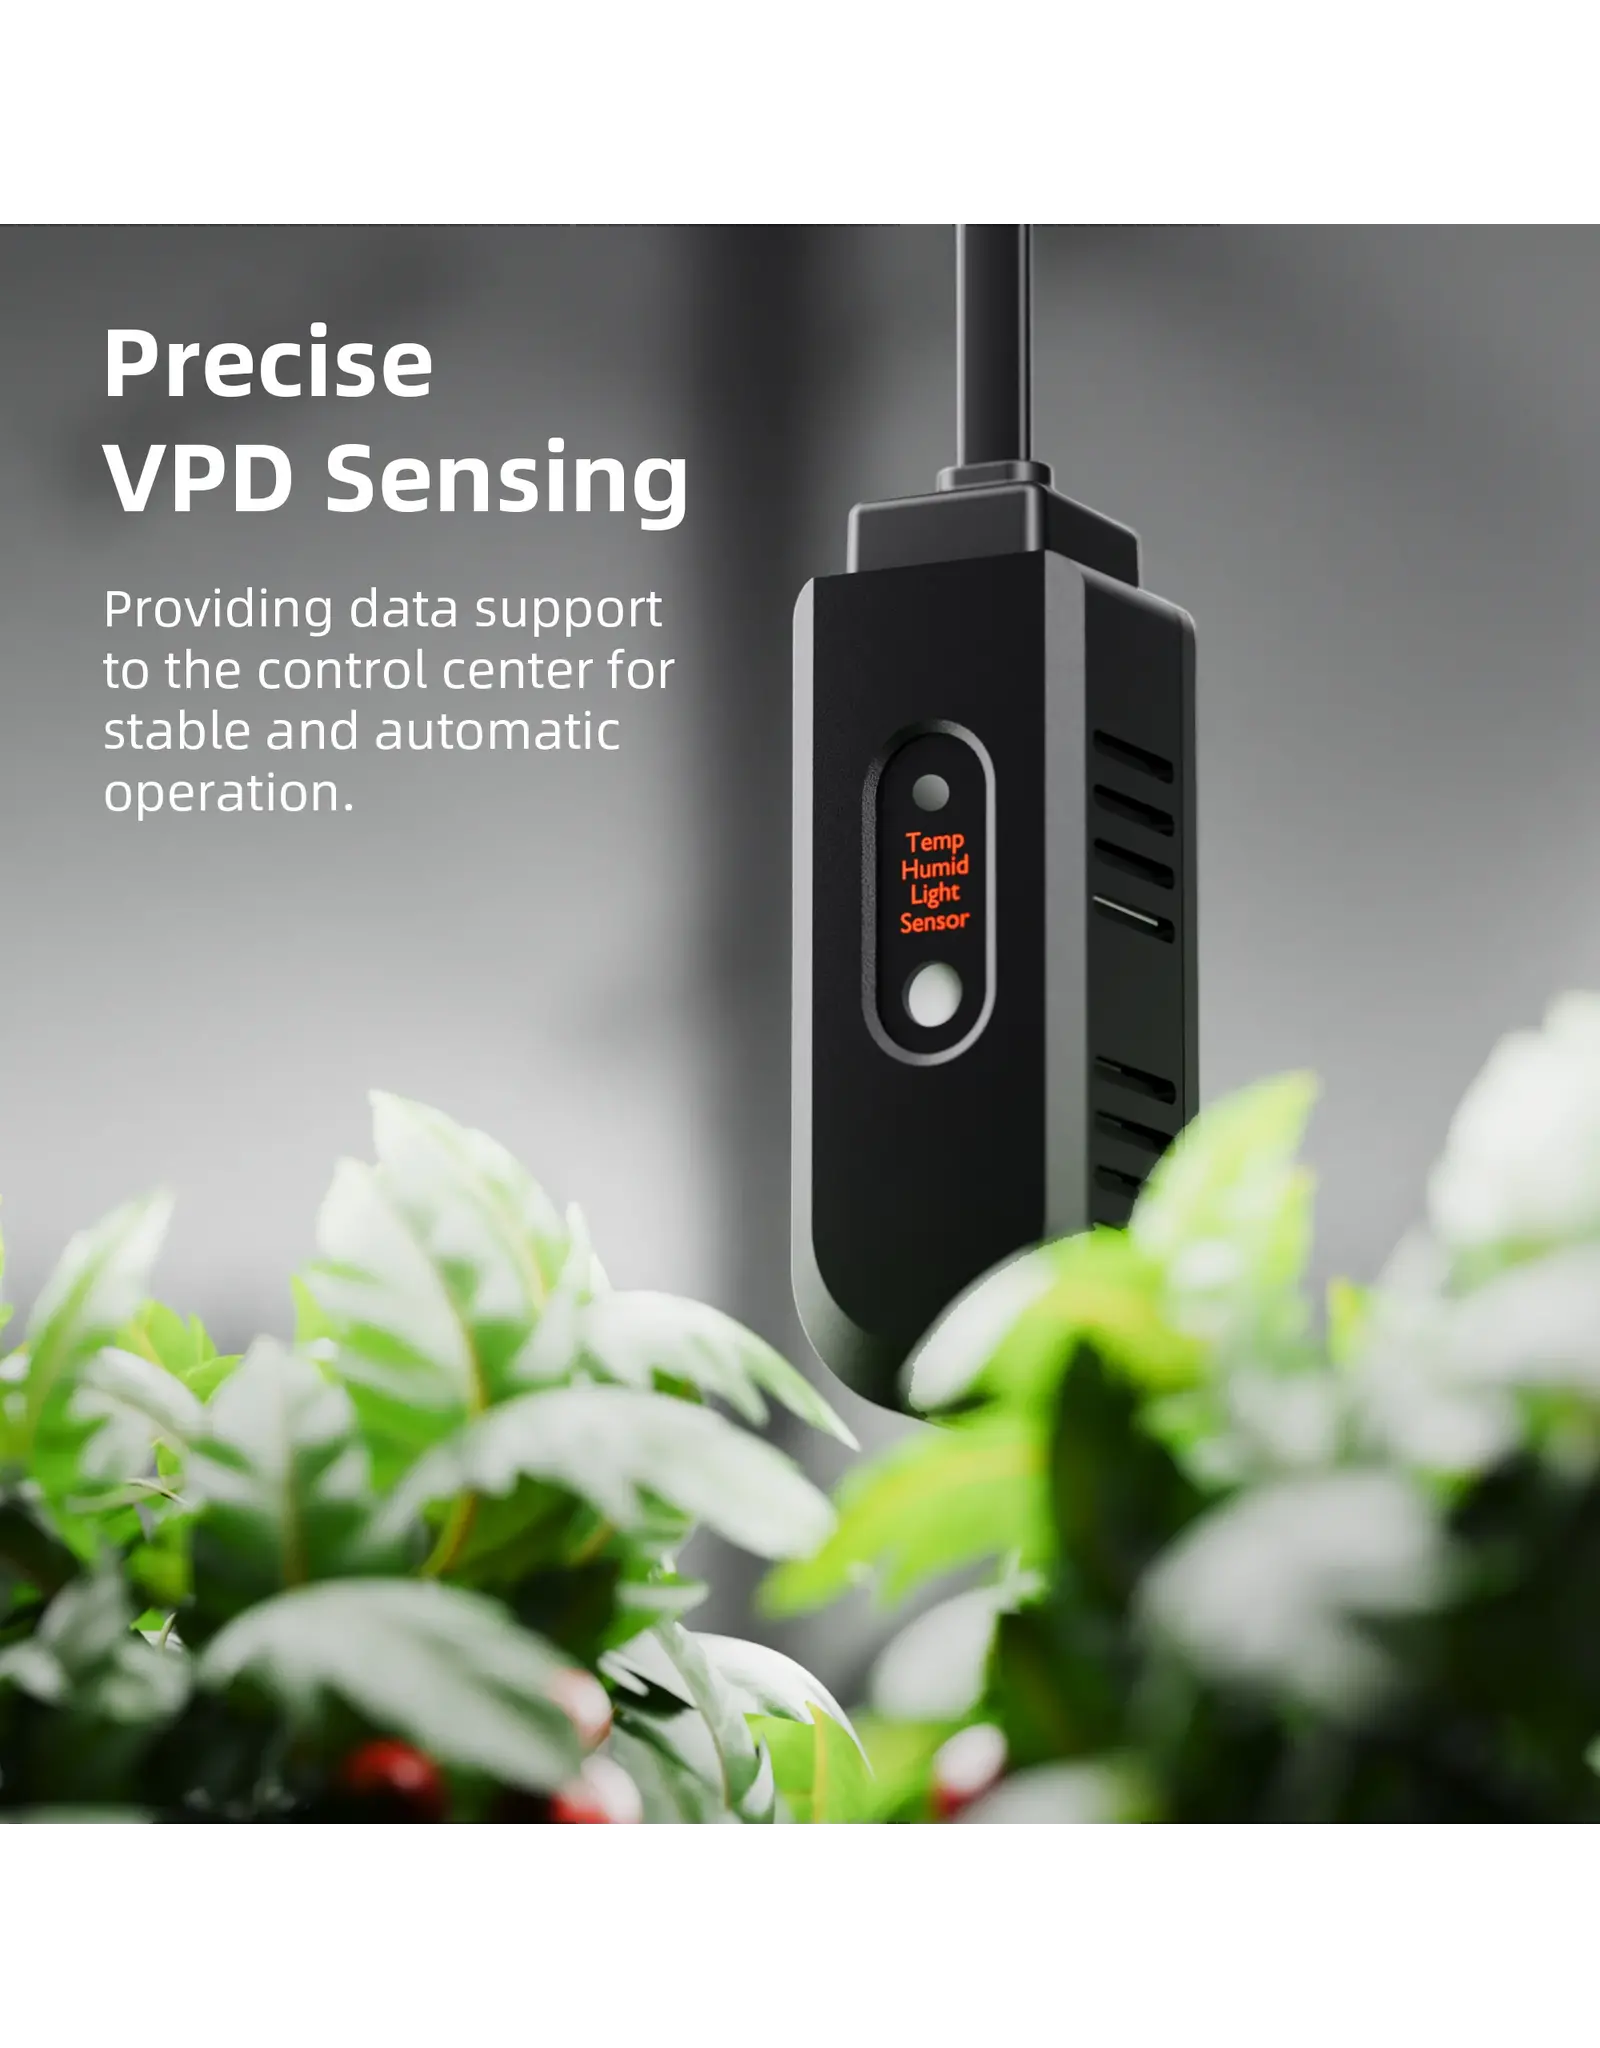
The Spider Farmer Genius Grow System (GGS) Controller Kits offer precise control over LED grow lights from the G-SERIES, SE series, and SF series (except for SF1000D, SF300, and SF600). You can set on/off times, adjust brightness, and even simulate sunrise and sunset. The system can be connected to temperature, humidity, and light sensors, allowing lights to dim or turn off automatically based on environmental conditions.
The kit includes:
1 × GGS controller (with power supply and metal wall-mount rail)
1 × GGS temperature & humidity sensor
1 × GGS 2-in-1 adapter (for connecting lights to the controller)
2 × RJ12 splitters (to expand connections)
6 × 2.5 m RJ12 cables (for device connections)
1 × 0.25 m RJ12 cable (for connecting between splitters)
4 × Velcro straps (for cable management)
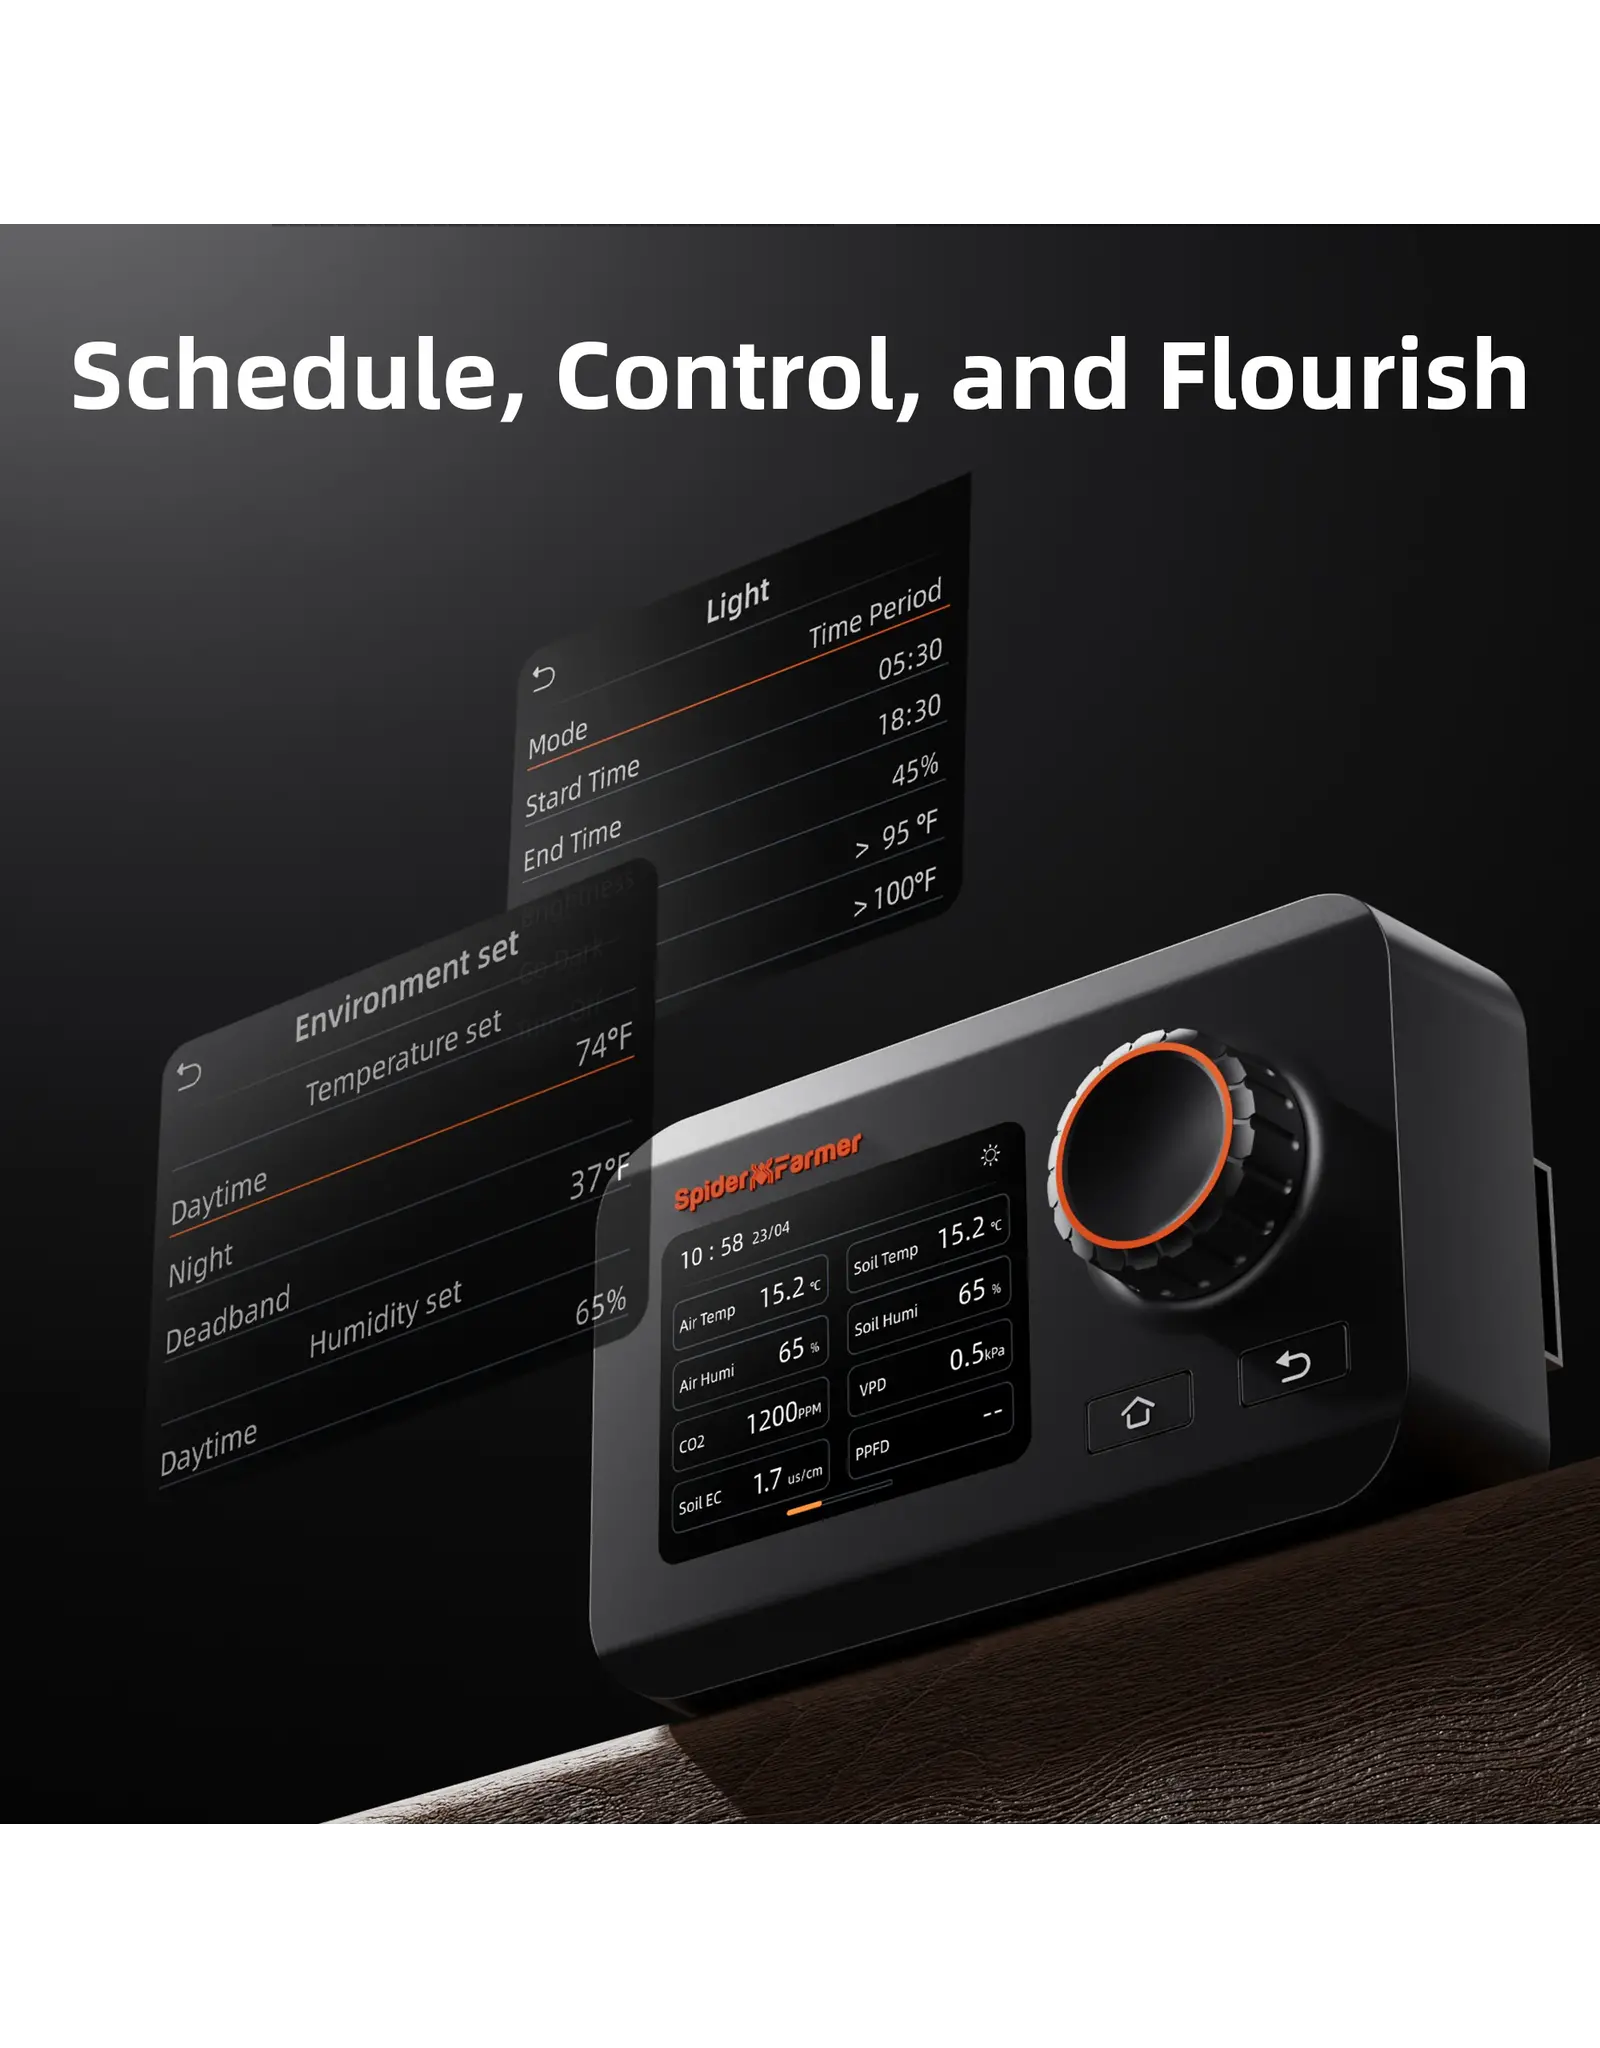
1.1 Time Display: Quickly check current date and time inside your grow tent.
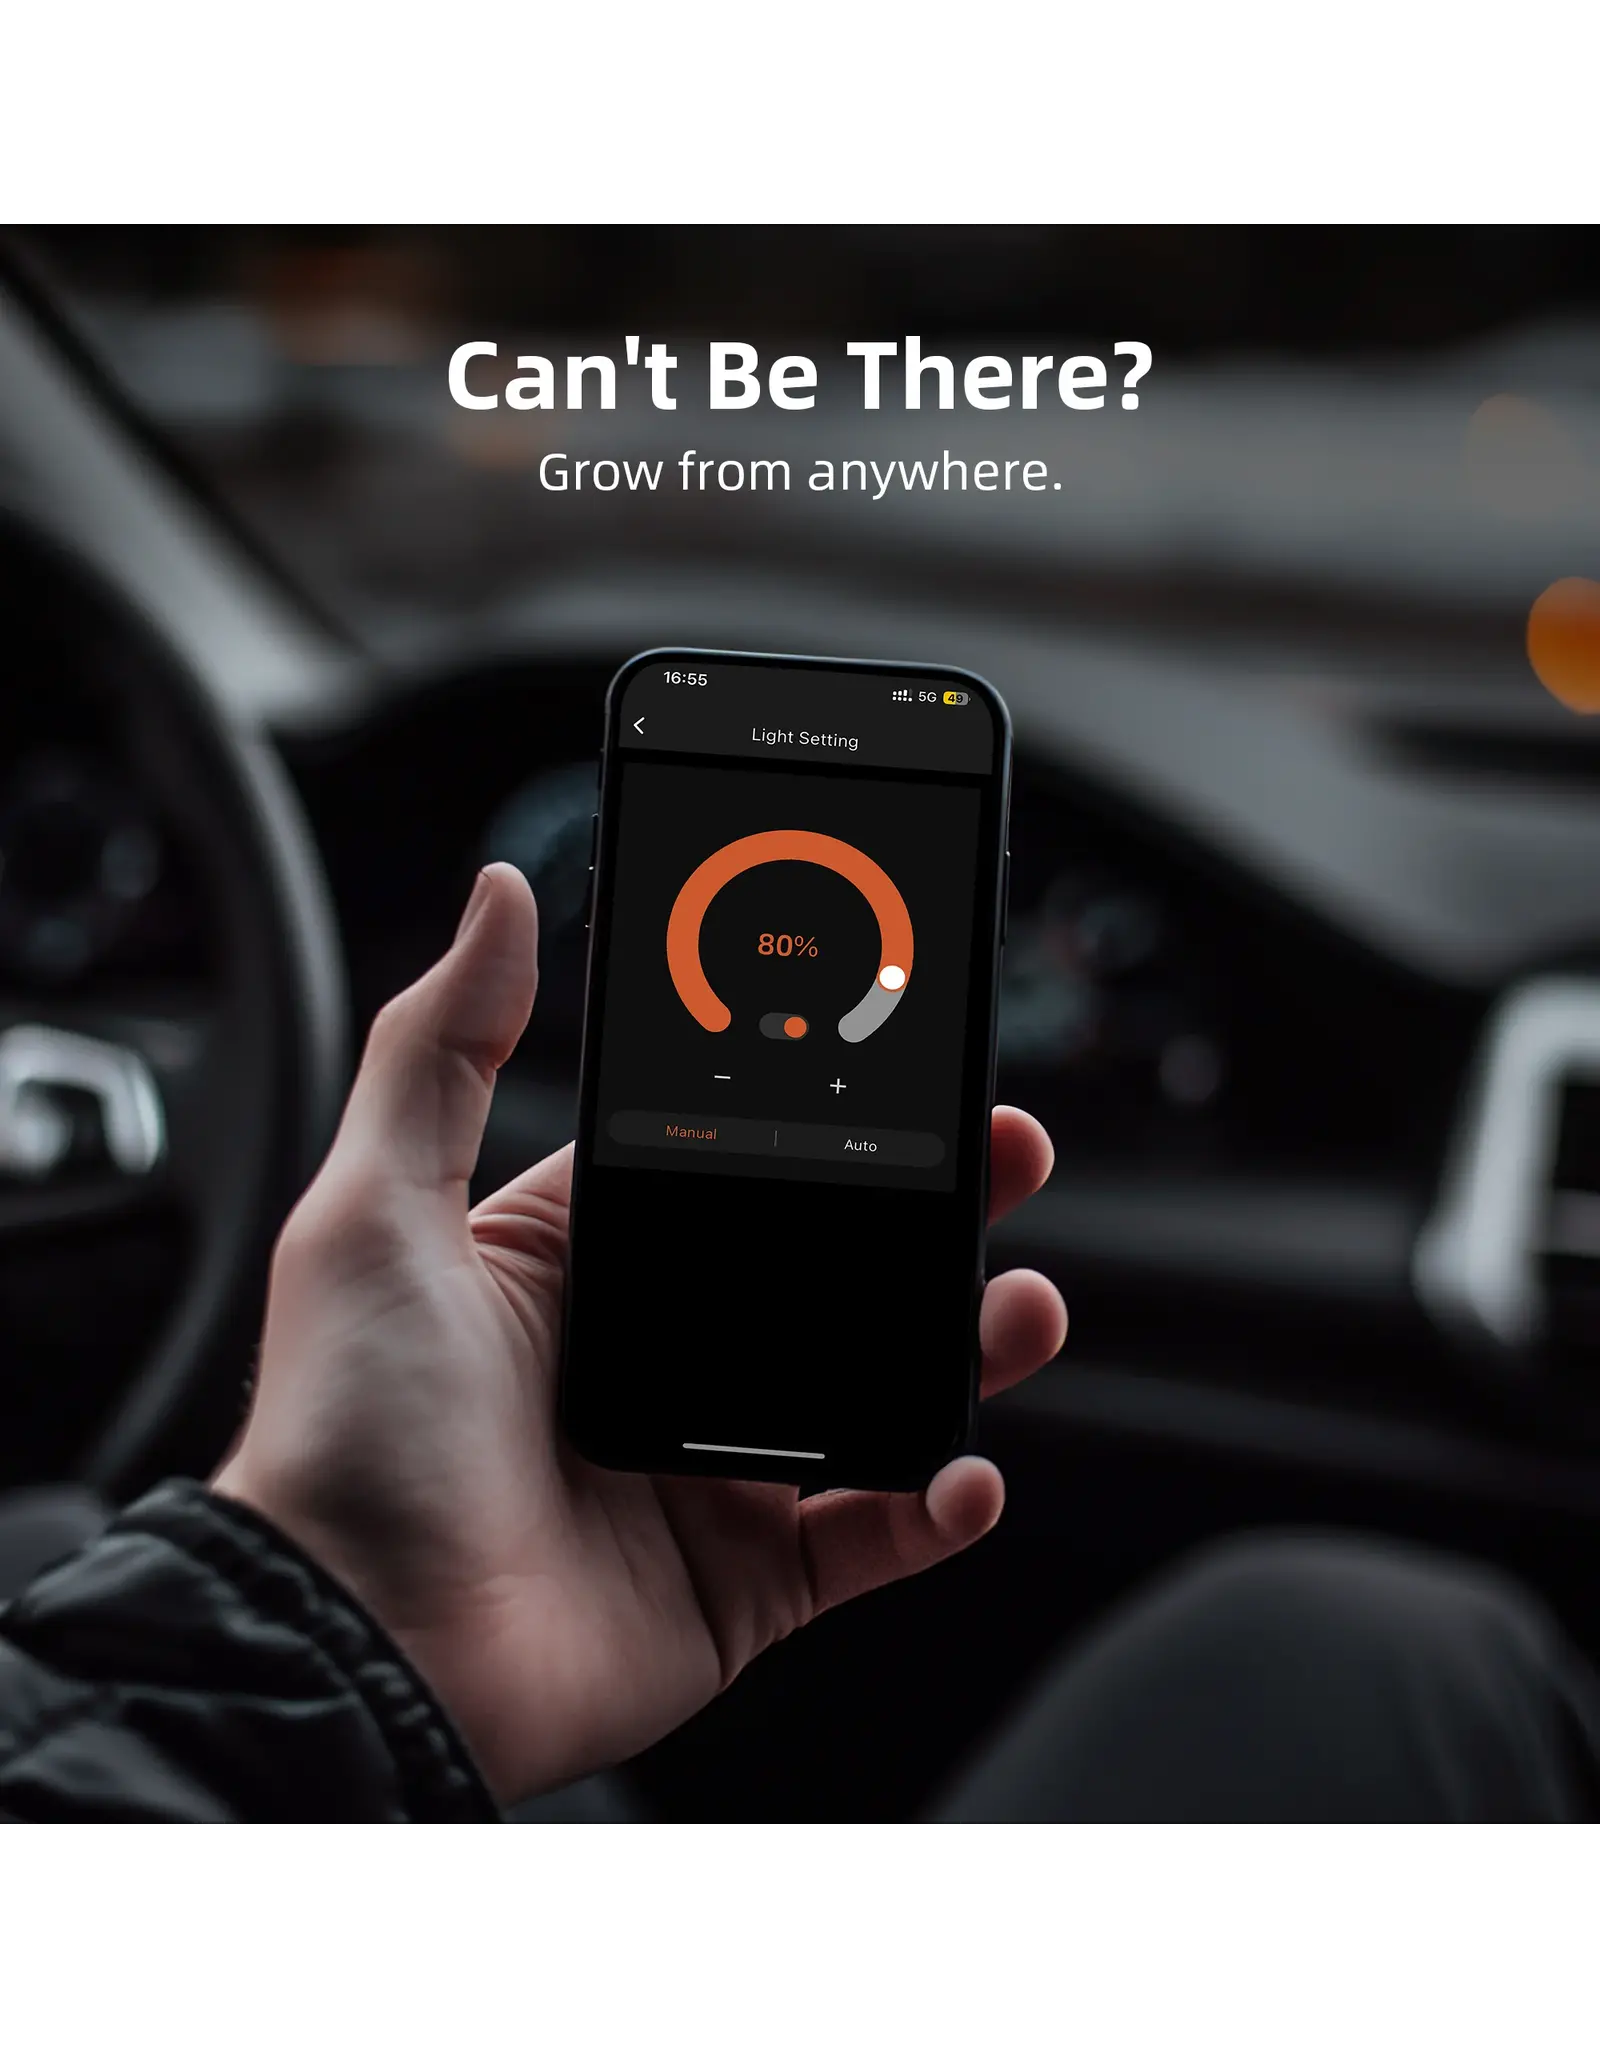
1.2 Day/Night Indicator: Instantly see whether your grow tent is in light or dark mode. A sun icon appears when light is detected, while a moon icon indicates darkness. This allows you to monitor conditions without opening the tent. The controller can also be operated remotely via the Spider Farmer App (requires the included temperature, humidity, and light sensor).
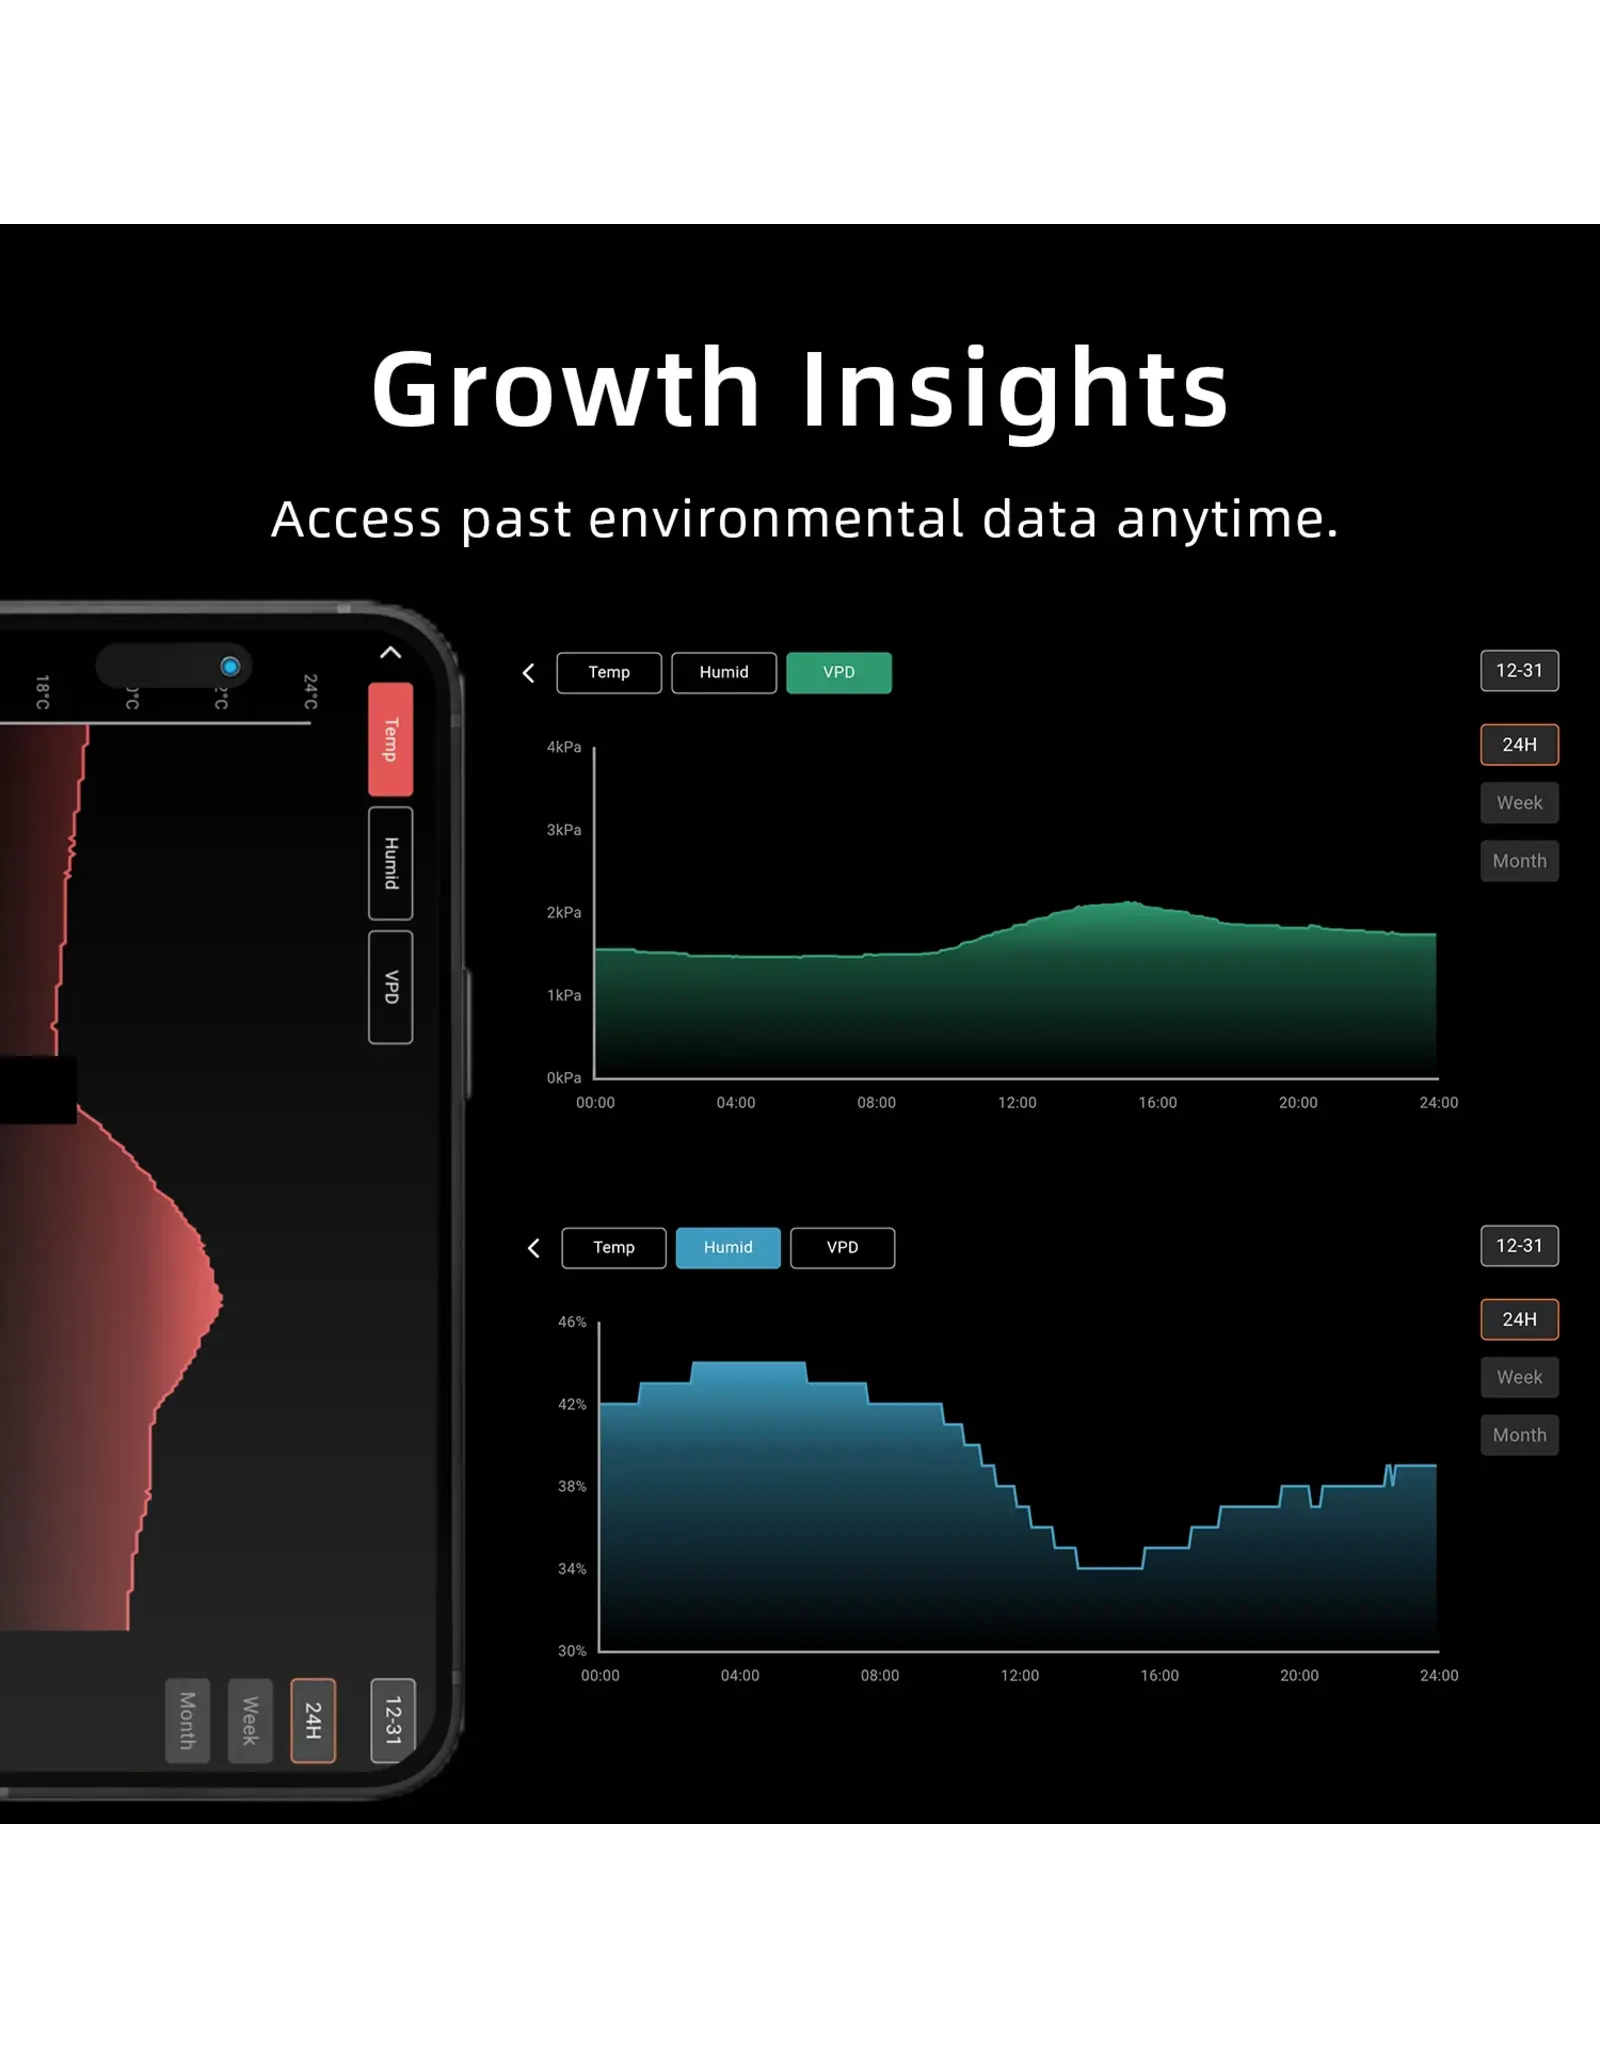
1.3 VPD and Temperature/Humidity Levels: Get precise readings of temperature, humidity, and VPD (Vapor Pressure Deficit). If the sensor is not properly connected, two dashes will appear on the display. Tip: Place the sensor at canopy level in the center of the grow area for the most accurate data.
2.1 Environmental Settings
2.2.1 Day/Night Cycle Optimization:
Define the time ranges for day and night. Day starts at the defined day start time and ends at the night start time. If both times are the same, the system switches to a 24-hour day mode.
2.2.2 Target Environmental Settings:
Set day and night targets for temperature, humidity, and CO₂ levels, including the deadband range.
2.2.3 Deadband Control:
Maintain stable conditions. Example: If daytime temperature is set to 21°C with a 1.7°C deadband, cooling activates at 23°C and stops at 21°C, while heating activates at 19°C and stops at 21°C.
3.1 Manual Brightness Control:
Adjust brightness from 10% to 100%. Setting brightness to 0% turns the lights off immediately (any setting between 0–10% defaults to 10%).
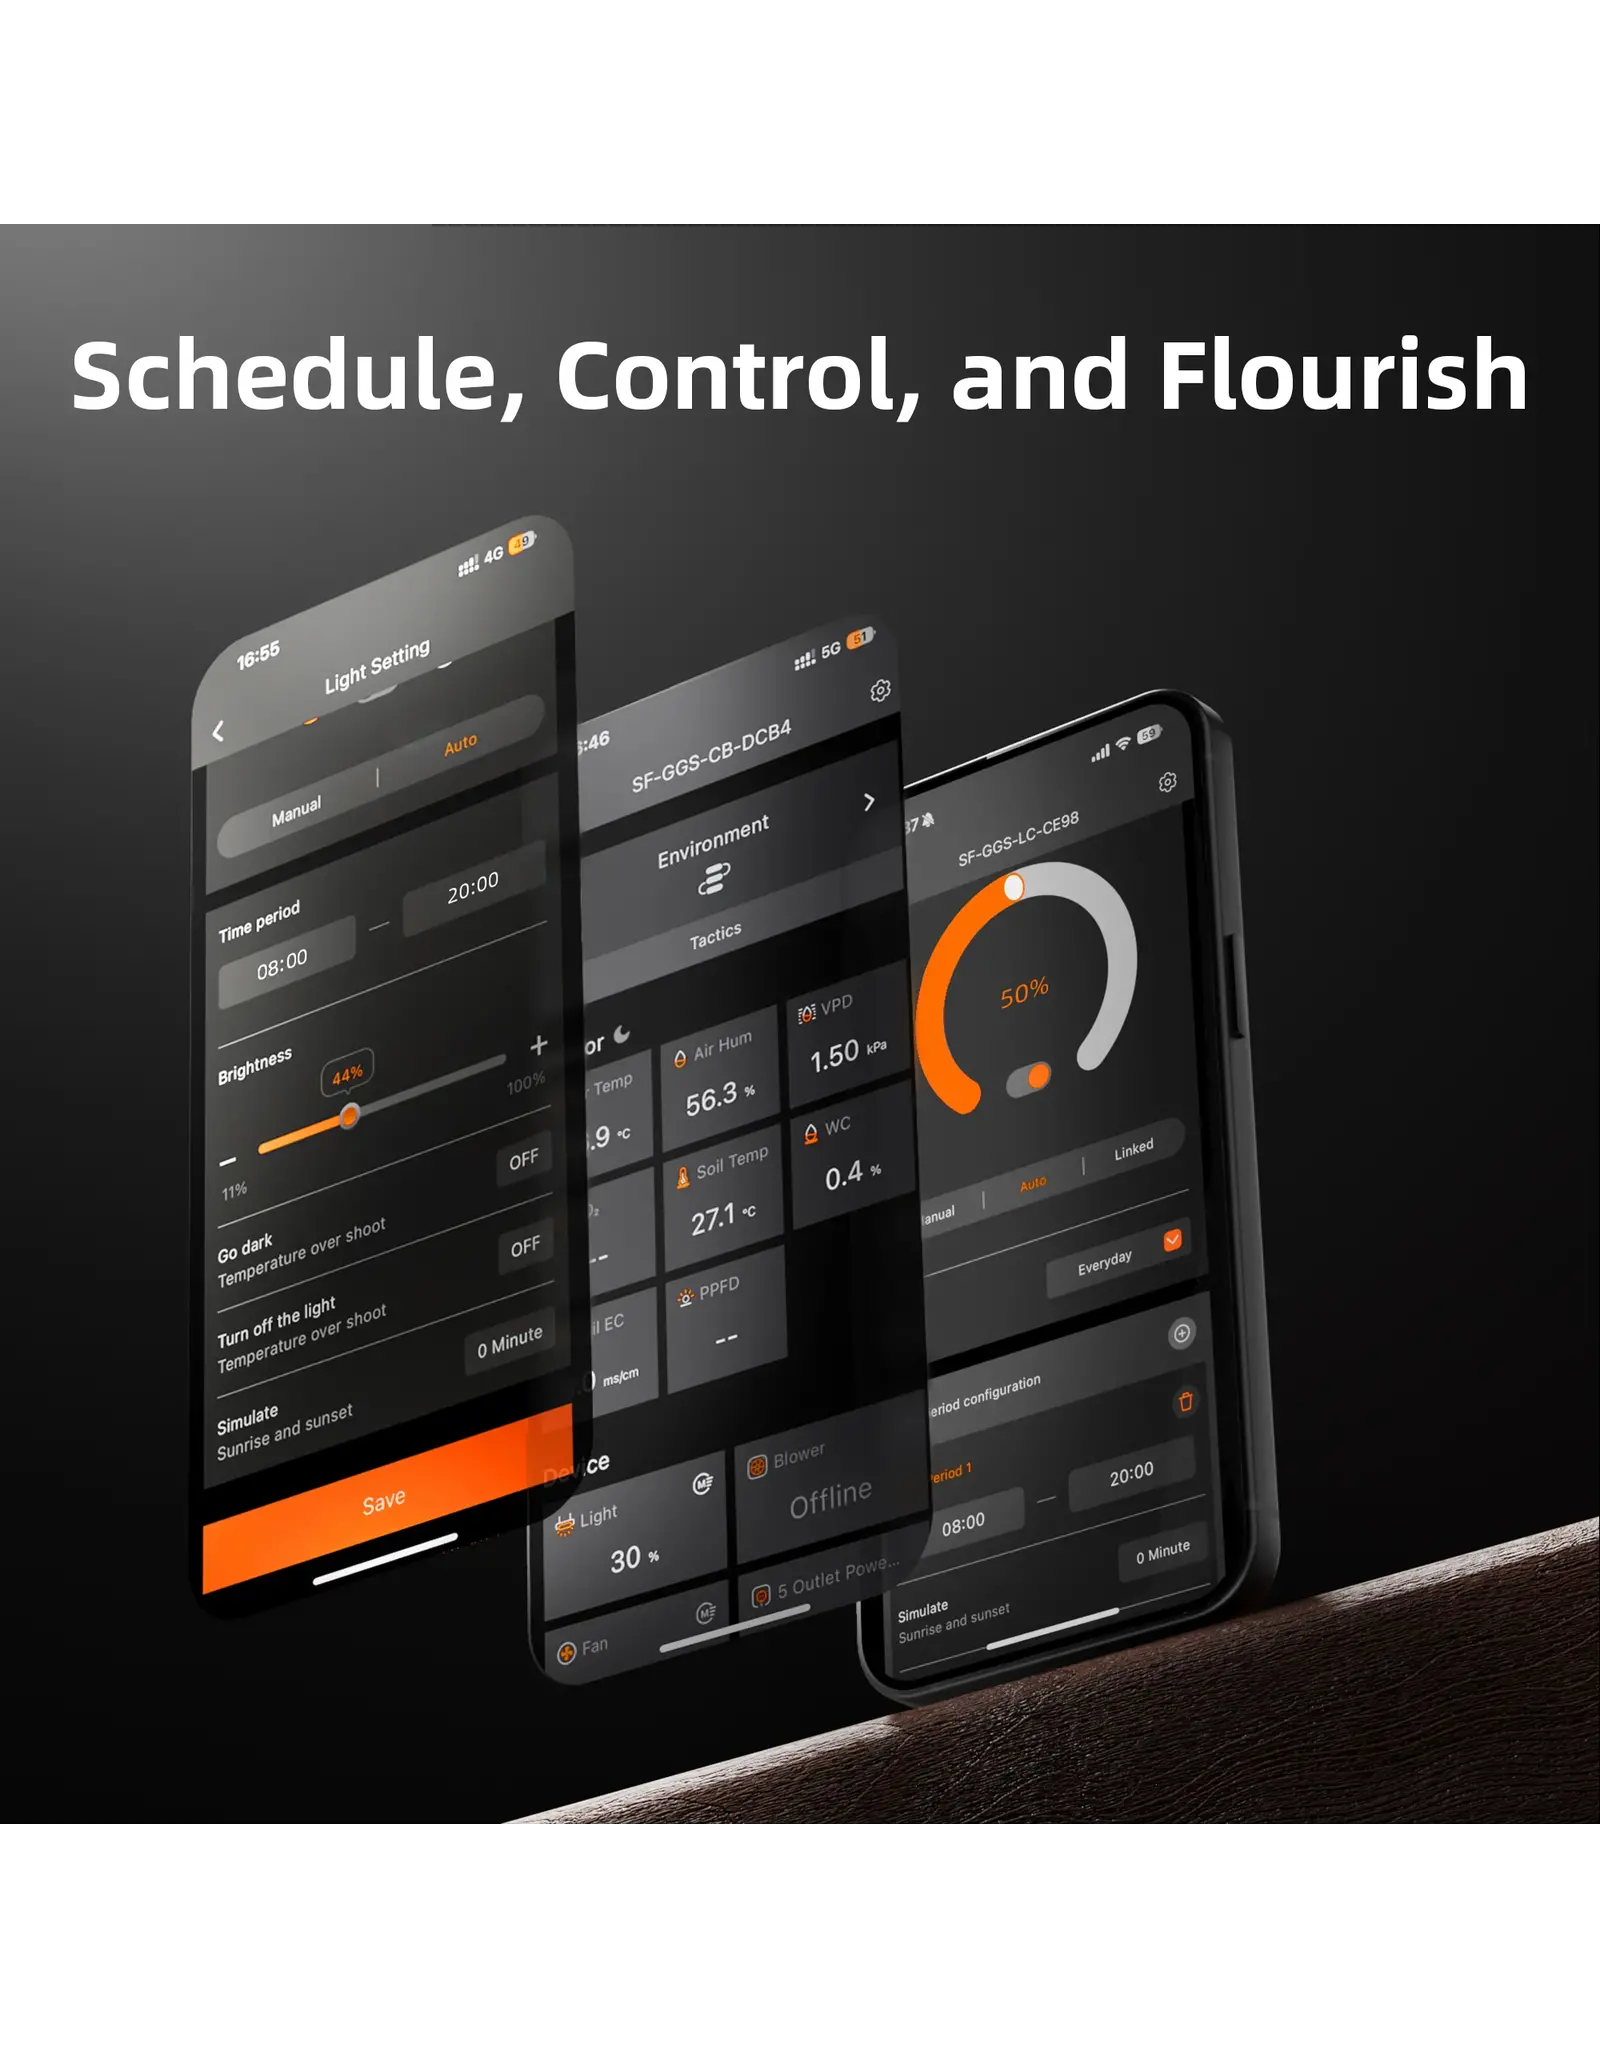
3.2 Automated Light Scheduling:
3.2.1 Start/End Times: Define on/off times for consistent light cycles.
3.2.2 Brightness Levels: Set specific light intensity for each cycle.
3.3 High-Temperature Protection:
3.3.1 Dim Mode: Set a high-temperature threshold to dim lights automatically to 11%.
3.3.2 Shutoff Mode: Set a higher threshold to completely turn off lights to protect plants and equipment.
3.4 Sunrise/Sunset Simulation:
Gradually increase/decrease brightness to simulate natural daylight transitions.
Example: If lights are scheduled from 08:00 to 20:00 at 100% brightness with a 30-minute sunrise/sunset setting, brightness ramps from 0% to 100% between 08:00–08:30 and dims from 100% to 0% between 19:30–20:00.
Connect devices to the GGS Power Strip. With sensors installed, each outlet can be individually automated via the controller or app:
4.1 Time Period Mode: Set specific on/off times per outlet.
4.2 Time Cycle Mode: Run devices in on/off intervals (e.g., a fan running 1 hour on / 1 hour off).
4.3 Temperature Mode: Trigger devices (e.g., fans) at temperature thresholds.
4.4 Humidity Mode: Control humidifiers to maintain target humidity.
4.5 CO₂ Mode: Automate CO₂ devices to maintain set levels.
5.1 Sensor Calibration:
Temperature: -10°C to +10°C in 0.1°C steps.
Humidity: -20% to +20% in 0.1% steps.
CO₂: -200 ppm to +200 ppm in 10 ppm steps.
5.2 Display Timeout: Set screen to turn off after 1–10 min inactivity or keep always on.
6. Keypad Sound: Enable or disable button sounds.
7. Firmware Update: Update via SD card or network.
8. Factory Reset: Restore default settings.

